About
Experience
2022 — Current Designed database schemas for PostgreSQL and MongoDB, built React components with state management, and integrated APIs using GraphQL and REST. Developed microservices for reporting, data extraction, event handling, and background tasks, containerized with Docker for Kubernetes deployment. Automated deployments with CI/CD pipelines and optimized performance using Redis caching. Wrote tests with Jest, React Testing Library, and Cypress, documented projects with Docusaurus, and created Python tools for data manipulation and exporting.
JavascriptTypescriptReactPostgresKubernetesDockerAutomation2020 — 2022 Integrated Stripe and Paynow payment gateways, boosting sales. Developed a data visualization dashboard for directors to monitor user engagement and built APIs for data access. Authored technical documentation for development and maintenance. Designed a mobile app dashboard using Laravel Voyager, automated testing and deployment with GitHub Actions, and integrated Twilio for OTPs and reset codes.
JavascriptPHPReactMaterial UILaravelPostgresFlutterDart2019 — 2022 Designed and implemented a secure, robust, and scalable Node.js backend with a MongoDB database for user data storage. Integrated cloud storage solutions via REST APIs and SDKs to enhance media access and business value. Maintained projects through code refactoring, testing, and bug fixes. Developed and maintained backends using Laravel and MySQL while integrating local and international payment gateways like PayPal, Stripe, and Paynow.
JavascriptPHPReactTailwindLaravelPostgresFlutterDart2020 — 2021 Translated user and system requirements into a responsive frontend using HTML, JavaScript, and Bootstrap while ensuring cross-device compatibility. Managed table migrations and implemented API requests with Axios. Wrote tests using PHPUnit to enhance system robustness and integrated Mailgun for authentication and subscription emails.
JavascriptPHPLaravelBootstrapJQuery
Projects
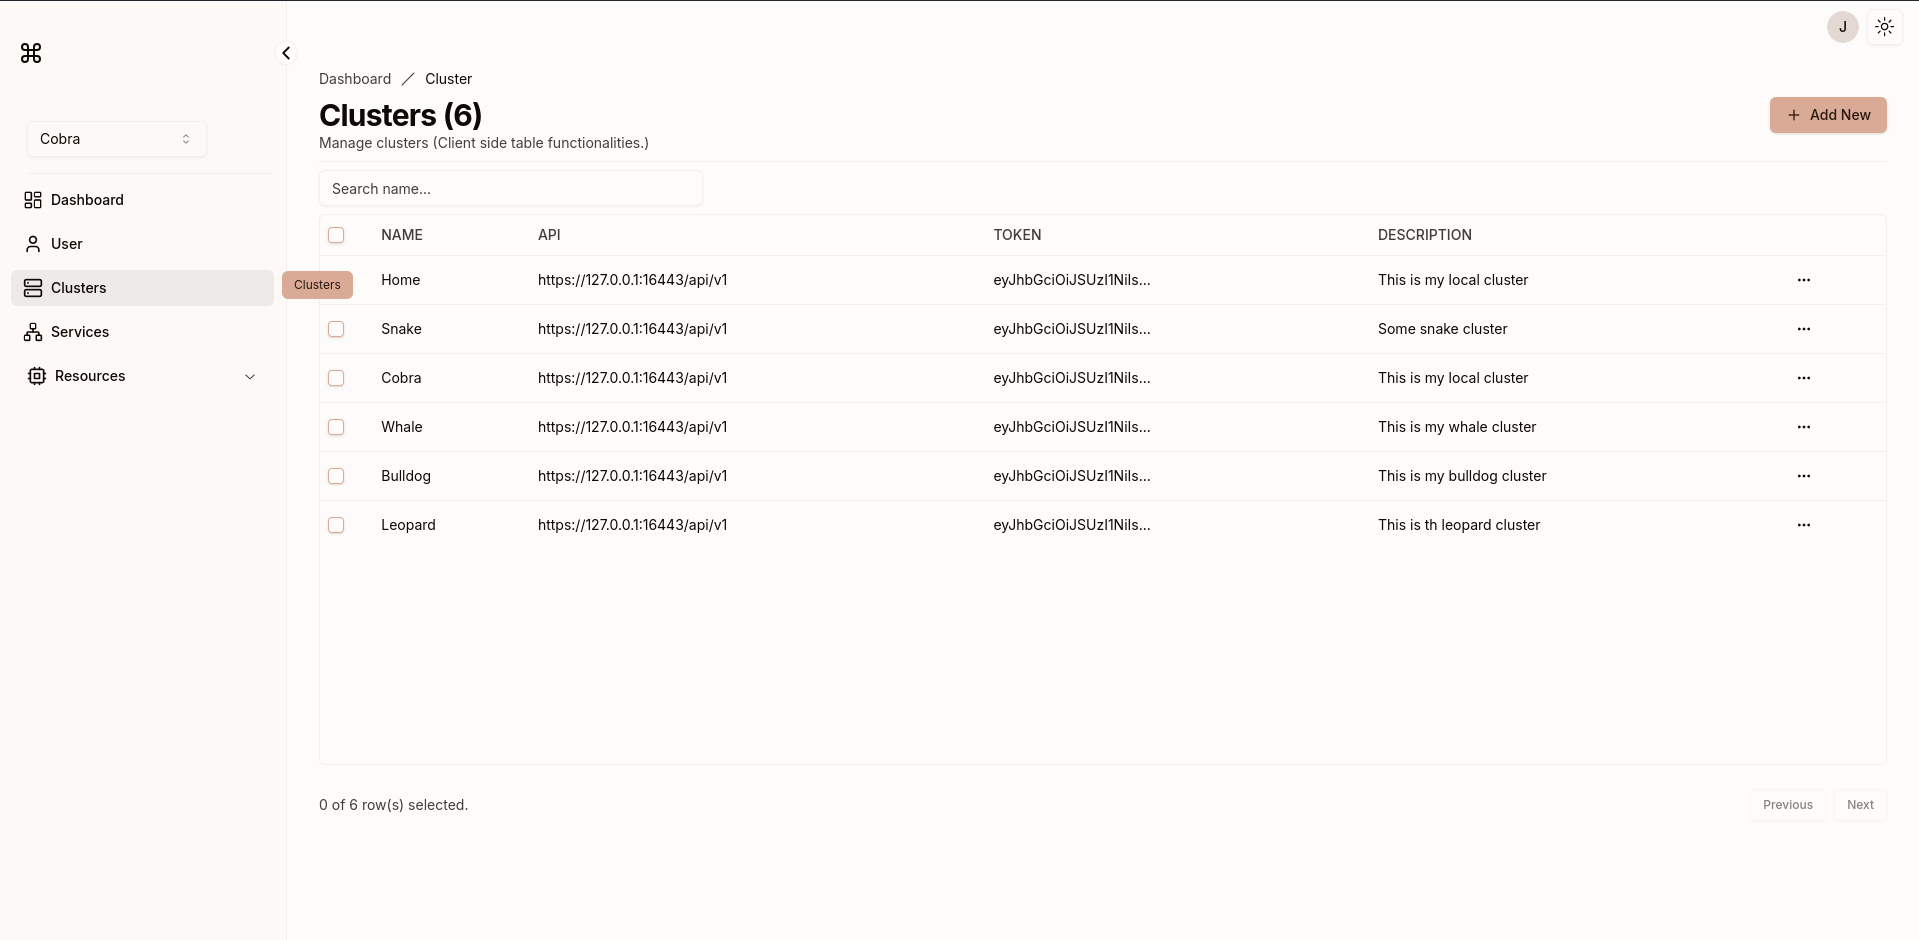
Kubiru
Is project for managing Kubernetes clusters and their resources.
JavascriptNext JSReactReduxTailwindShadcnSQlite
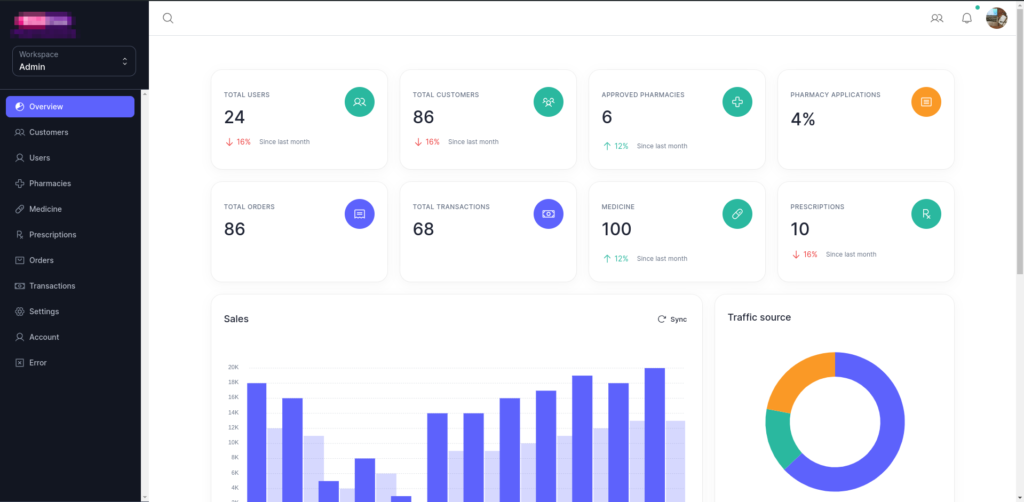
Pharmacy App
Is a dashboard that allows pharmacies to manage their inventory, patients, pescription, and sales. It also allows pharmacies to accept payments online.
JavascriptNext JSReactMongoMongooseExpress
RSS Aggregator
RSS Aggregator is a simple RSS feed reader that fetches RSS feeds from multiple sources and stores them in a database
GoPostgresRSSREST API
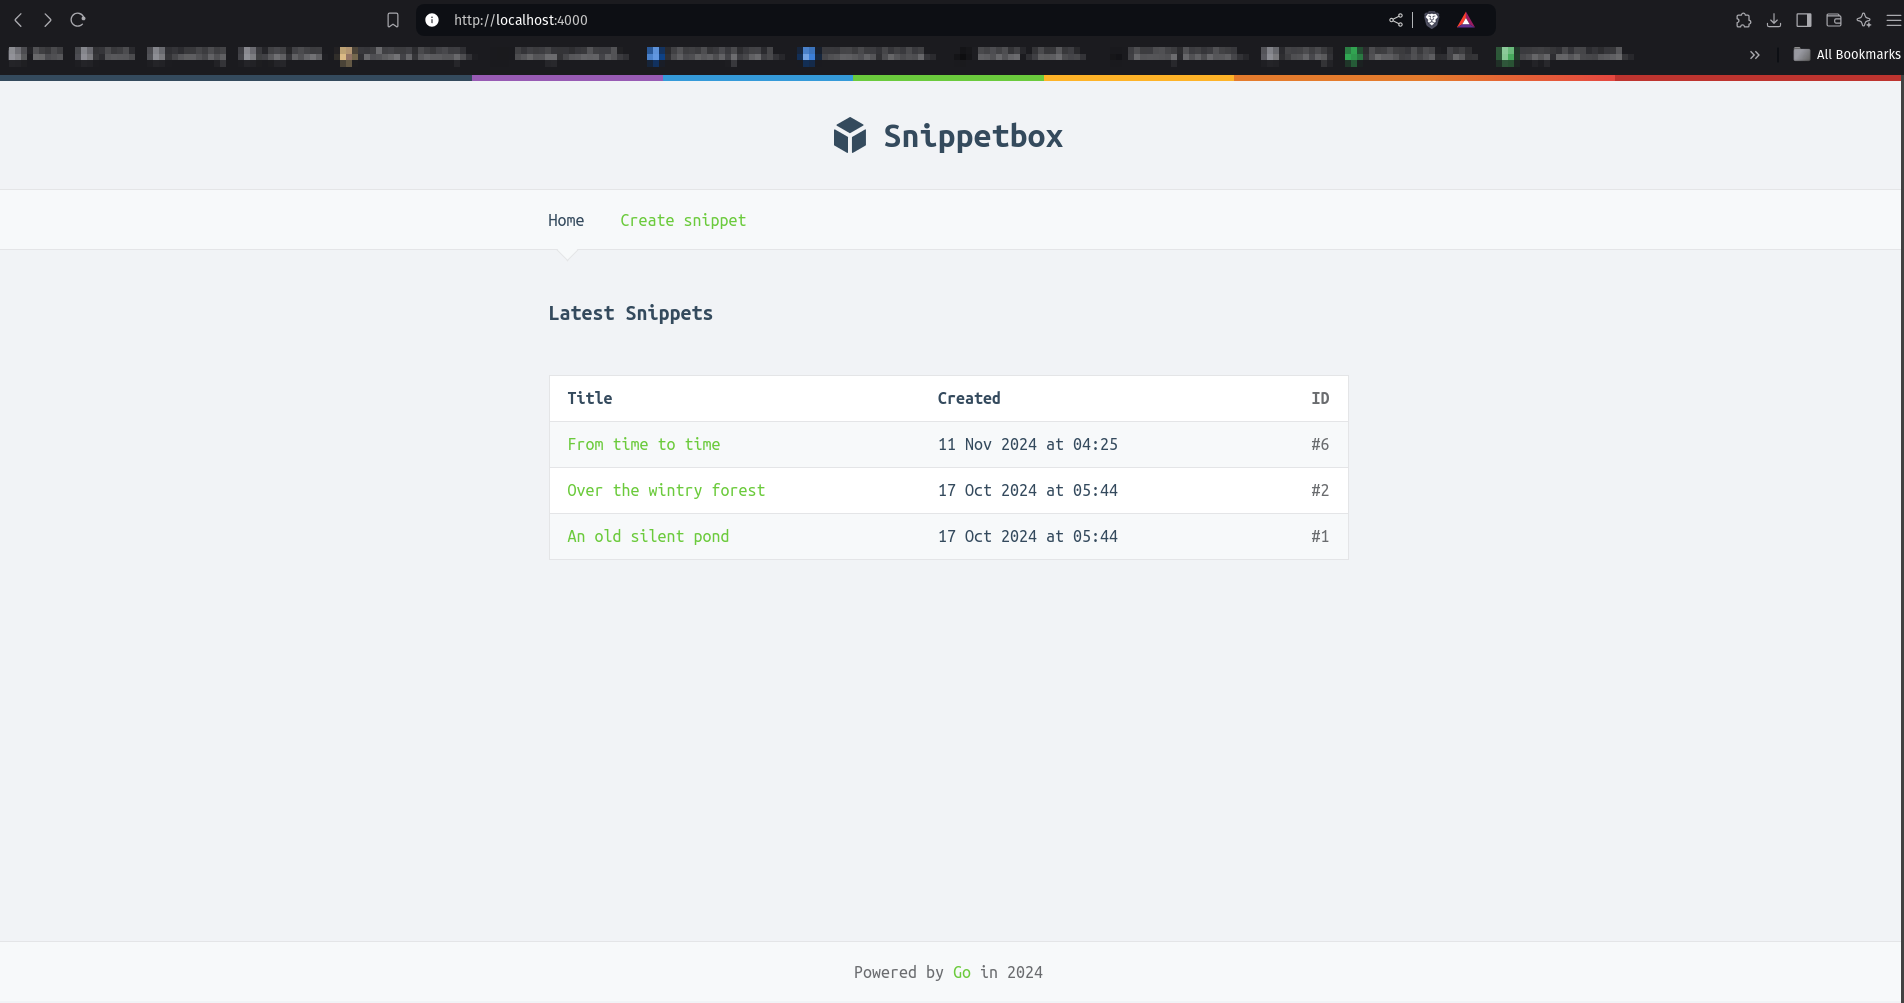
Snippets
This is a simple snippets app that allows you to store and manage text snippets.
GoPostgresMuxREST API
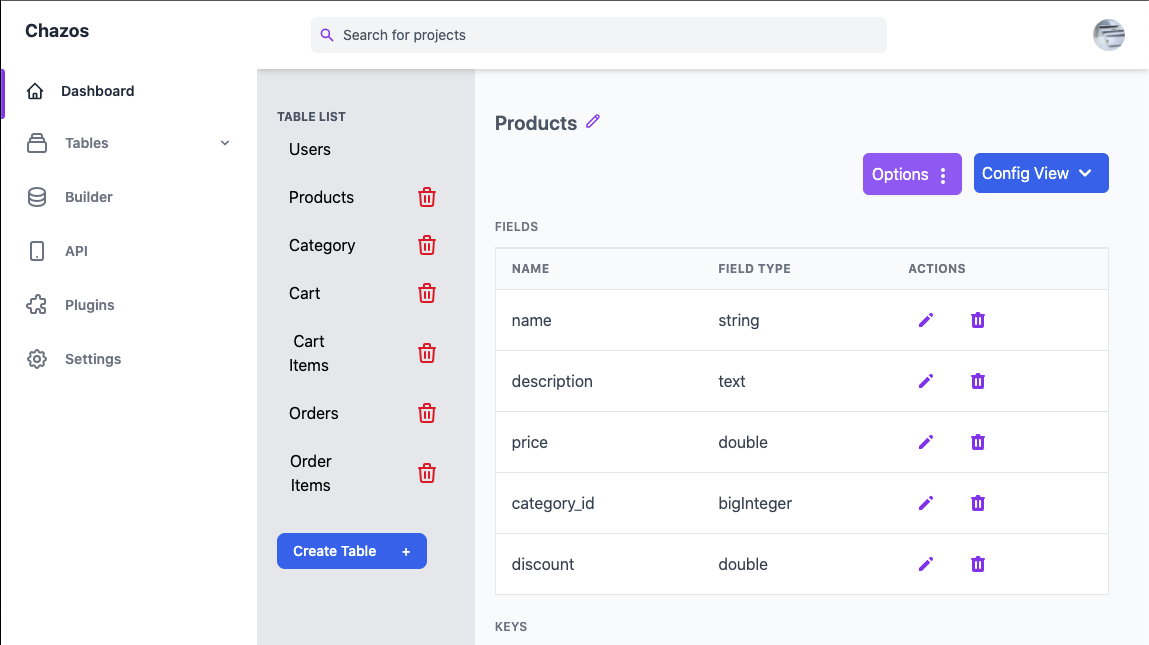
Chazos
Chazos is headless CMS built with Laravel. It is a simple CMS that allows you to create and manage your content, and you can consume this content using a REST API.
PHPLaravelTailwindAlpine JSMySQLREST API